Week 4 Lesson contains:
•Working with Selections...
•Color Changing Flowers
•Quick Selection Tool
•Resized Image that is Constrained and Not Constrained
•Rotated Image
•Layers Palette
•Bear using Marquee Elliptical Selection
•Screenshot of Layers Palette
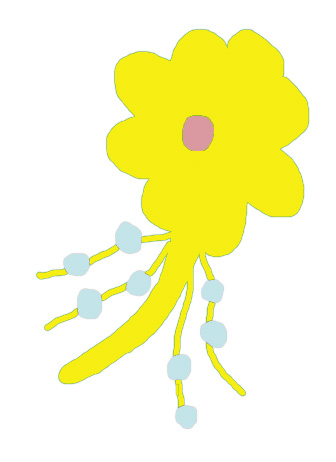
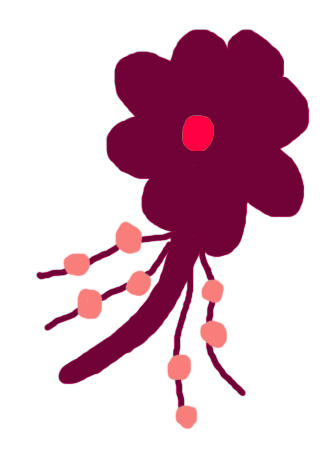
The flowers above were color changed by using the Magic Wand Tool...
on the left the color of the flower was changed by taking the magic wand and
clicking inside the area that I wanted the color to change and then using the
Bucket Tool to colorize.
The flower on the right same thing using the Magic Wand Tool but instead
of using the Bucket Tool I changed the color by using Hue/Saturation/Lightness.
Quick Selection Tool
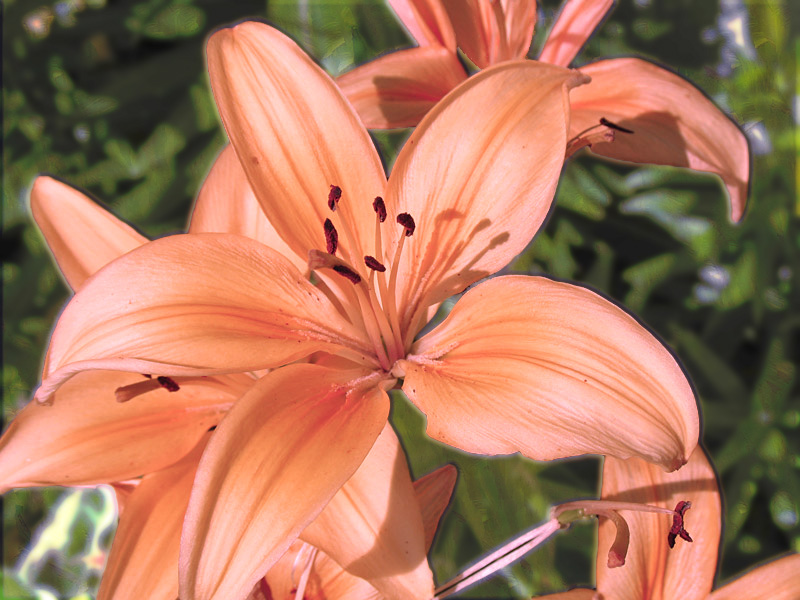
This beautiful Tiger Lily was changed to a different color by using a tool
that is something similar to the Magic Wand Tool but it selects the whole
petal where as the magic wand you will have trouble selecting the whole
because of the different colors and texture of the petals.
This is a great tool to use and fun
Also while the Flower was selected I Inversed and changed the background
using guassian blur, paint brush strokes effect and the Pinlight Blend Mode on the Layers Palette.
Resized Image that is Constrained and Not Constrained
and Rotating the Image
 |
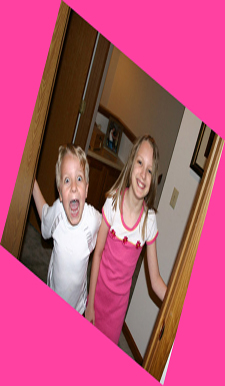 |
Constrained Image
|
Not Constrained Image
|
Resizing Image is a way to get your image to the precise measurements that
you want it to be. Now when you resize and set it for Constrain what happens
is that the image does not get distorted whereas by unchecking the Constrain
option the Not Constrained Image will get distorted as you
see in the images above.
Also another feauture is if you like you can rotate your image any which way
Layers Palette

If you look at the above image these are selections I made with the
Marquee Rectangle & Elliptical Tool. Also if you notice by creating
each selection (using the Bucket Tool to fill a color into the selection)
and you would like to have one of your selections to overlay another
selection you need to create each selection on its own separate layer.
This also gives you the option to do more with your selection by
adding a drop shadow, texture effects, etc...
Bear using Marquee Elliptical Selection
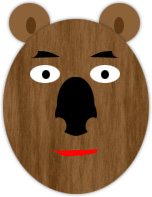
The Bear was created using the Marquee Elliptical Tool
we learned how to create the nose by using the different options
by adding a New Selection and to create the nose shape also by
using the Subtract from selection which means erases the part
you have selected.
Also I used the pencil tool to make the mouth and eyebrows and in the
Filters I used Fibers for the head and gave it a drop shadow.
Screenshot of Layers Palette
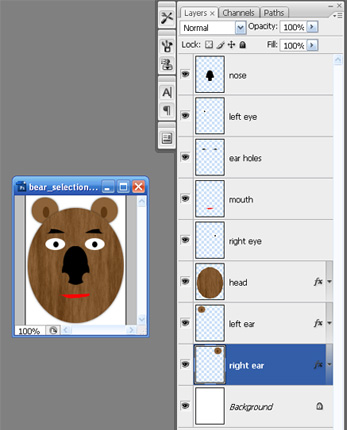
In the above image you see layers and each layer has its own name.
The layers Palette is a way like taking a flat sheet of paper and making
placing more papers on top of each other which is a good way to redo
something, to delete a layer, to add a layer in between, and to add
something. Also you can move the layers to your liking and merge
layers together...Another words if this image had no layers to it I would not
be able to make adjustments to let's say the head that I added an
effect to after I was done creating the Bear Head.


I hope you enjoyed Lesson 4. Please feel free to contact me.
Web Layout Designed by ©AngelAD