Week 3 Lesson contains:
•Working with Selections...
Using the Rectangle and Elliptical MarqueeTool
•Polygonal, Magnetic and Regular Lasso Tool
•Feathering
•Anti-alias
•Fixed Selections
•Refine Edge Dialogue Box
•Magic Wand
•Tolerance
•Moving a Selection
The header image on your left is the adobe colors and the colors on
the right are Safe Web Colors. If you take a look at both you will see that
the Safe Web Colors are not as vibrant as the Adobe Colors.
The reason is that with the safe web colors pixels are taken away
from the the original image, so less pixels means less colorization.
Also, it makes the an image on a webpage load quickly, however
with modern day computers the majority does not need to use these
color settings anymore.
Using An Array of Feathering and Tolerance with Selections

As you look at the above shapes which are made using selections...
if you look closely you see that some of the shapes edges are not so
harsh and one is actually like a blur, well this is what you call feathering
and the tolerance is the amount of feathering you want to do to the edges
of your image. The feathering is a great feature to smooth those
rough and jagged edges.
Fixed Selections

Are a great way to be precise with measuring your selection.
Another great feature is when you have your option on Fixed size
it allows you to be able to click anywhere on your canvas and the
selection will snap to your cursor.
Magic Wand, Mover Tool and Filled Background


The Magic Wand is a tool that allow you to pick an area of an image.
In the left image above I picked the pink and yellow area and moved
the both parts of the image using the Mover Tool. To pick more than
one area with your Magic Wand hold your shift key down and click
inside each area you want selected.
The right image is showing you the Edit - Fill option to change the
color of the background. It is another way instead of using the
Paint Bucket Tool.
Anti-alias
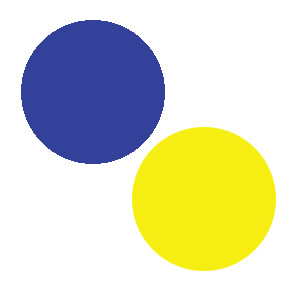
What is Anti-alias? Take a look at the edges of the both circles
when you have the Anti-alias on your edges will be smooth otherwise
as you see in the blue circle it is jagged and not clean like the yellow circle.
Polygonal and Regular Lasso Tool

Creates straight sides so you can make triangles or other straight shape
selections. It is also a usful tool to smooth out edges that have a
rough edge or something that you have tubed and there is a tiny part
that needs to be cut-off. The shape of the image and if you were to use the
Marquee tool would not suffice for the Polygonal can get in between
those tiny areas without restriction of shape.
In the image above I used the Lasso Tool that allows you
to draw out your selection to any shape or form you would like it to be.
However, you must have a steady hand or a graphire tablet for if you look
at this blue image I tried to make rounded eyes but I do not have a
steady hand using the mouse and it is not rounded as you see the rest
of the image is nice and smooth because I used the Elliptical Selection Tool.
Another way to draw using the Polygonal Tool is the Graphire Tablet
which is a separate product to purchase.
Magnetic Lasso Tool
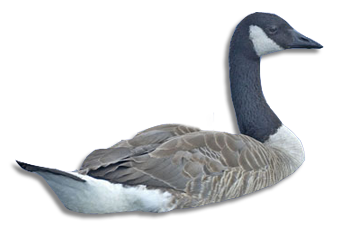

The Magnetic Lasso Tool is a wonderful tool, why?
It is easier to use then the Polygonal or Lasso Tool to tube your image
(erase your background and delete by inverse or foreground no inverse)
for it has a way of automatically forming to the shape and also giving you
options to make it easier to tube your image as you see in the above images.
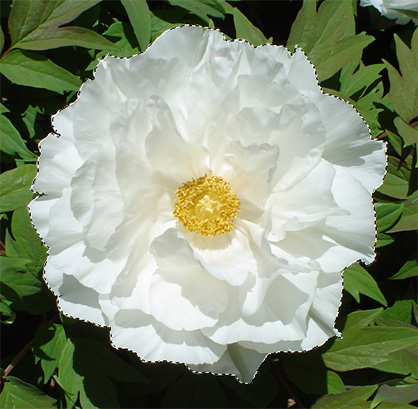
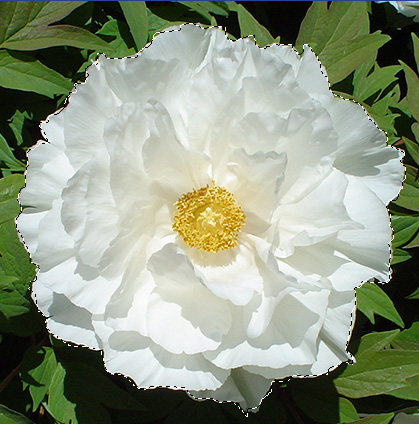
If you look at the before and after images below this was done using
the Lasso Tool...as you can see I could not get it perfectly tubed
as it is hard to control the mouse to get it tubed precise.


I hope you enjoyed Lesson 3. Please feel free to contact me.
Cherry Blossom Flowers are ©Andrea DeBiaso ~angelAD~
Web Layout Designed by ©AngelAD